How to build testimonial carousels in Squarespace 7.1
As a Squarespace designer, you've probably know the feeling of adding content block by block. While this gives you a lot of freedom within the website builder, sometimes it can get a bit tedious having to manually arrange the elements for more complex layouts.
Good thing there's a new Squarespace 7.1 feature on the block—the auto-layout sections. This means that we're now able to arrange text and media automatically based on a specified setting.
There are three auto-layout categories to choose from: list, people, and headlines. Now it's easier than ever to showcase testimonials, banners, galleries, and many more.
Wondering how to make the most out of this new feature? Let's deep dive into customizing testimonial carousels using CSS.
If you're interested in learning more about how to code unexpected websites, you can check out my signature course Standout Squarespace. It's where I teach you everything you need to know to become a web designer & developer.
Section properties
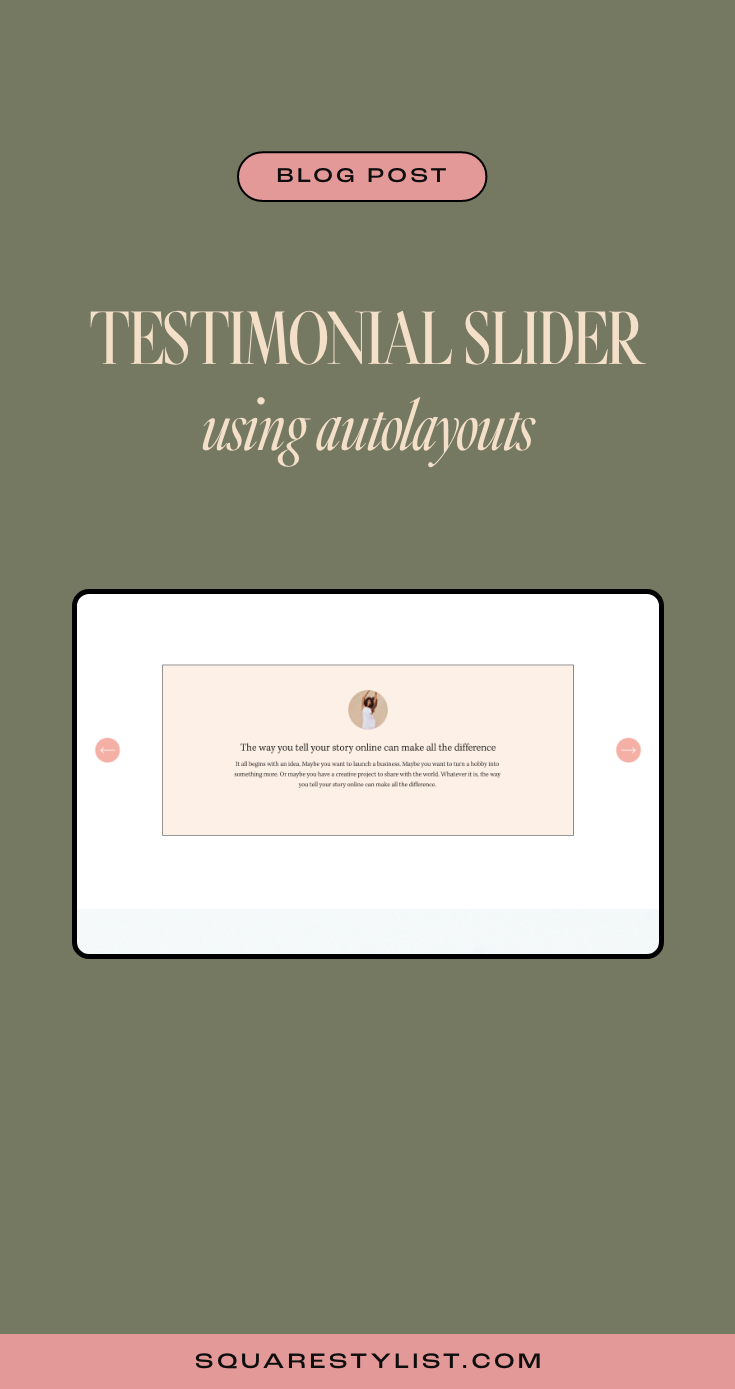
To start, add a section and go to Headlines > Banner Slideshow, then click Edit Content > Design to switch to the carousel layout.
Under the Elements tab, make sure that the image, title, and body are all shown. You can leave the button turned off for this use case.
Add all the testimonials—photo, title, and description—you want to feature under the Content tab.
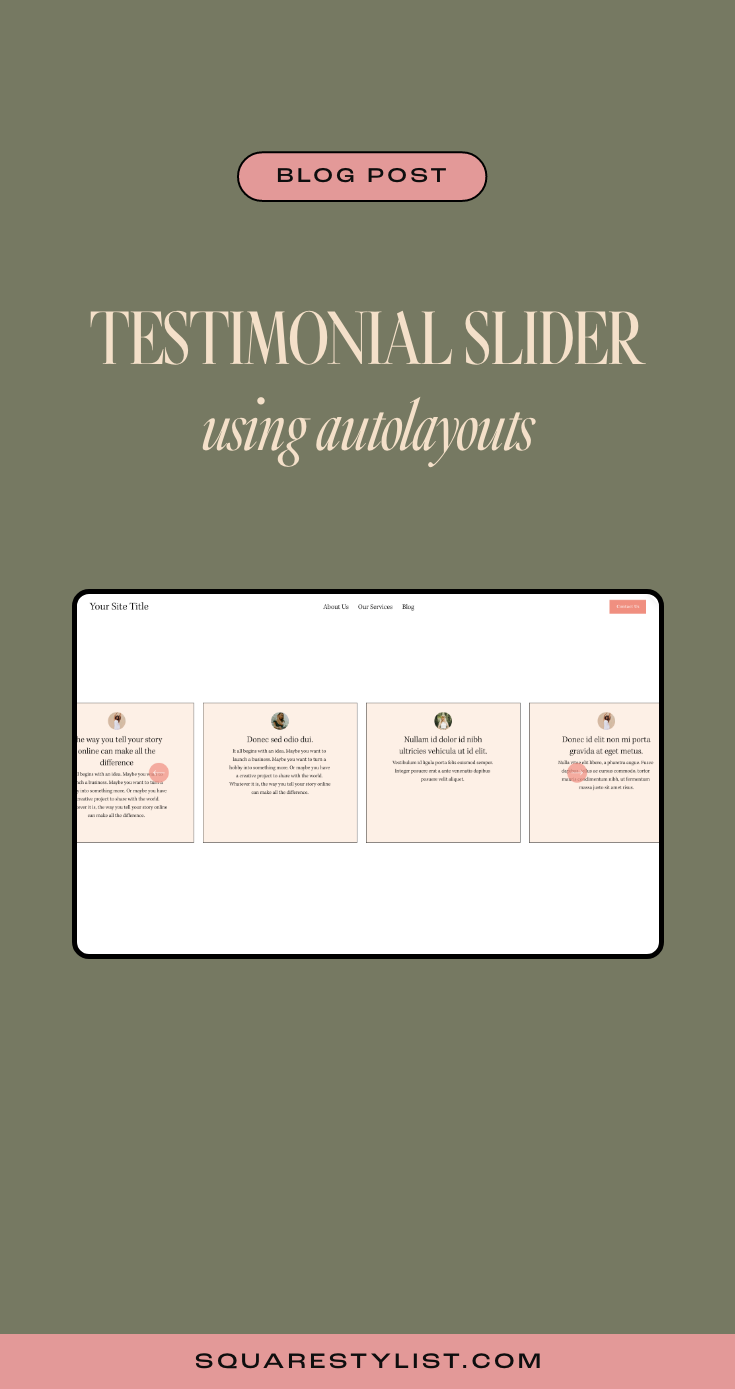
Back to the Design tab, we need to make sure to set the alignment to center and the max columns to 1. Image crop is set to 1:1 ratio so we could round the corners later. Don't forget to turn off "show adjacent slides" but enable infinite scroll.
Let's go to Size & Space under the Design tab to configure more details for the slider. Toggle media width to around 10%, though this could vary depending on your design. Content width can be set to medium, while media placement should be centered.
The space between elements can be set to 1-2%. Note that the space between sliders would not matter when we have a max column of 1.
Set the vertical padding to large, with the position being either top or center—I personally prefer the top alignment.
Click on the Style tab under Design and activate the card and add background color to the testimonials.
Main CSS codes
If you sign up to access the codes, you'll see in the Notion document that I added snippets to customize the carousel.
All you need to do is to replace the placeholders in these snippets with the correct Section ID using the Squarespace ID Finder extension.
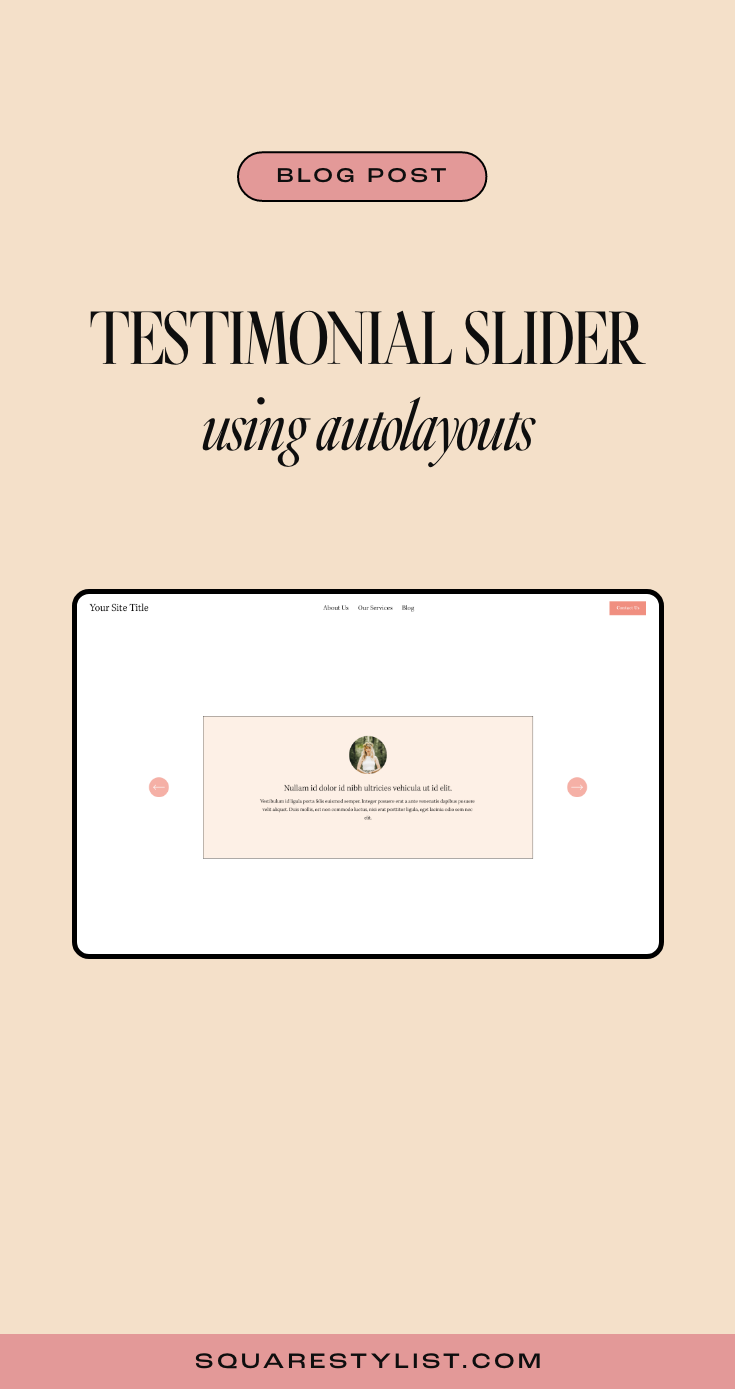
You probably notice that the navigation arrows are hidden, and that's because we made the image thumbnail small. We'll need to use CSS to reposition the arrows and make them visible again.
The next one is what creates the rounded image thumbnails for this carousel. Removing the border-radius property will turn your photo back into a square. If you need a border outline, just specify its width, type, and color (using hex code) in the values.
The card border & background snippet will allow you to tweak the border outline, type, and color in the same manner. You can define the background-color of the card using any hex code.
Last but not least, the content maximum width will manage the size of your cards depending on your design. Adjust your navigation offset via Edit Content > Design > Style depending on this value.
Optional CSS codes
To keep your testimonial cards of uniform size, you can add a code snippet for equal height items. Make sure that you add this at the very bottom of the code snippets you just added.
This will be handy if you'd like to feature several testimonial cards per slide. Just don't forget to add some space in between slides by going back to Edit Content > Design > Size & Space.
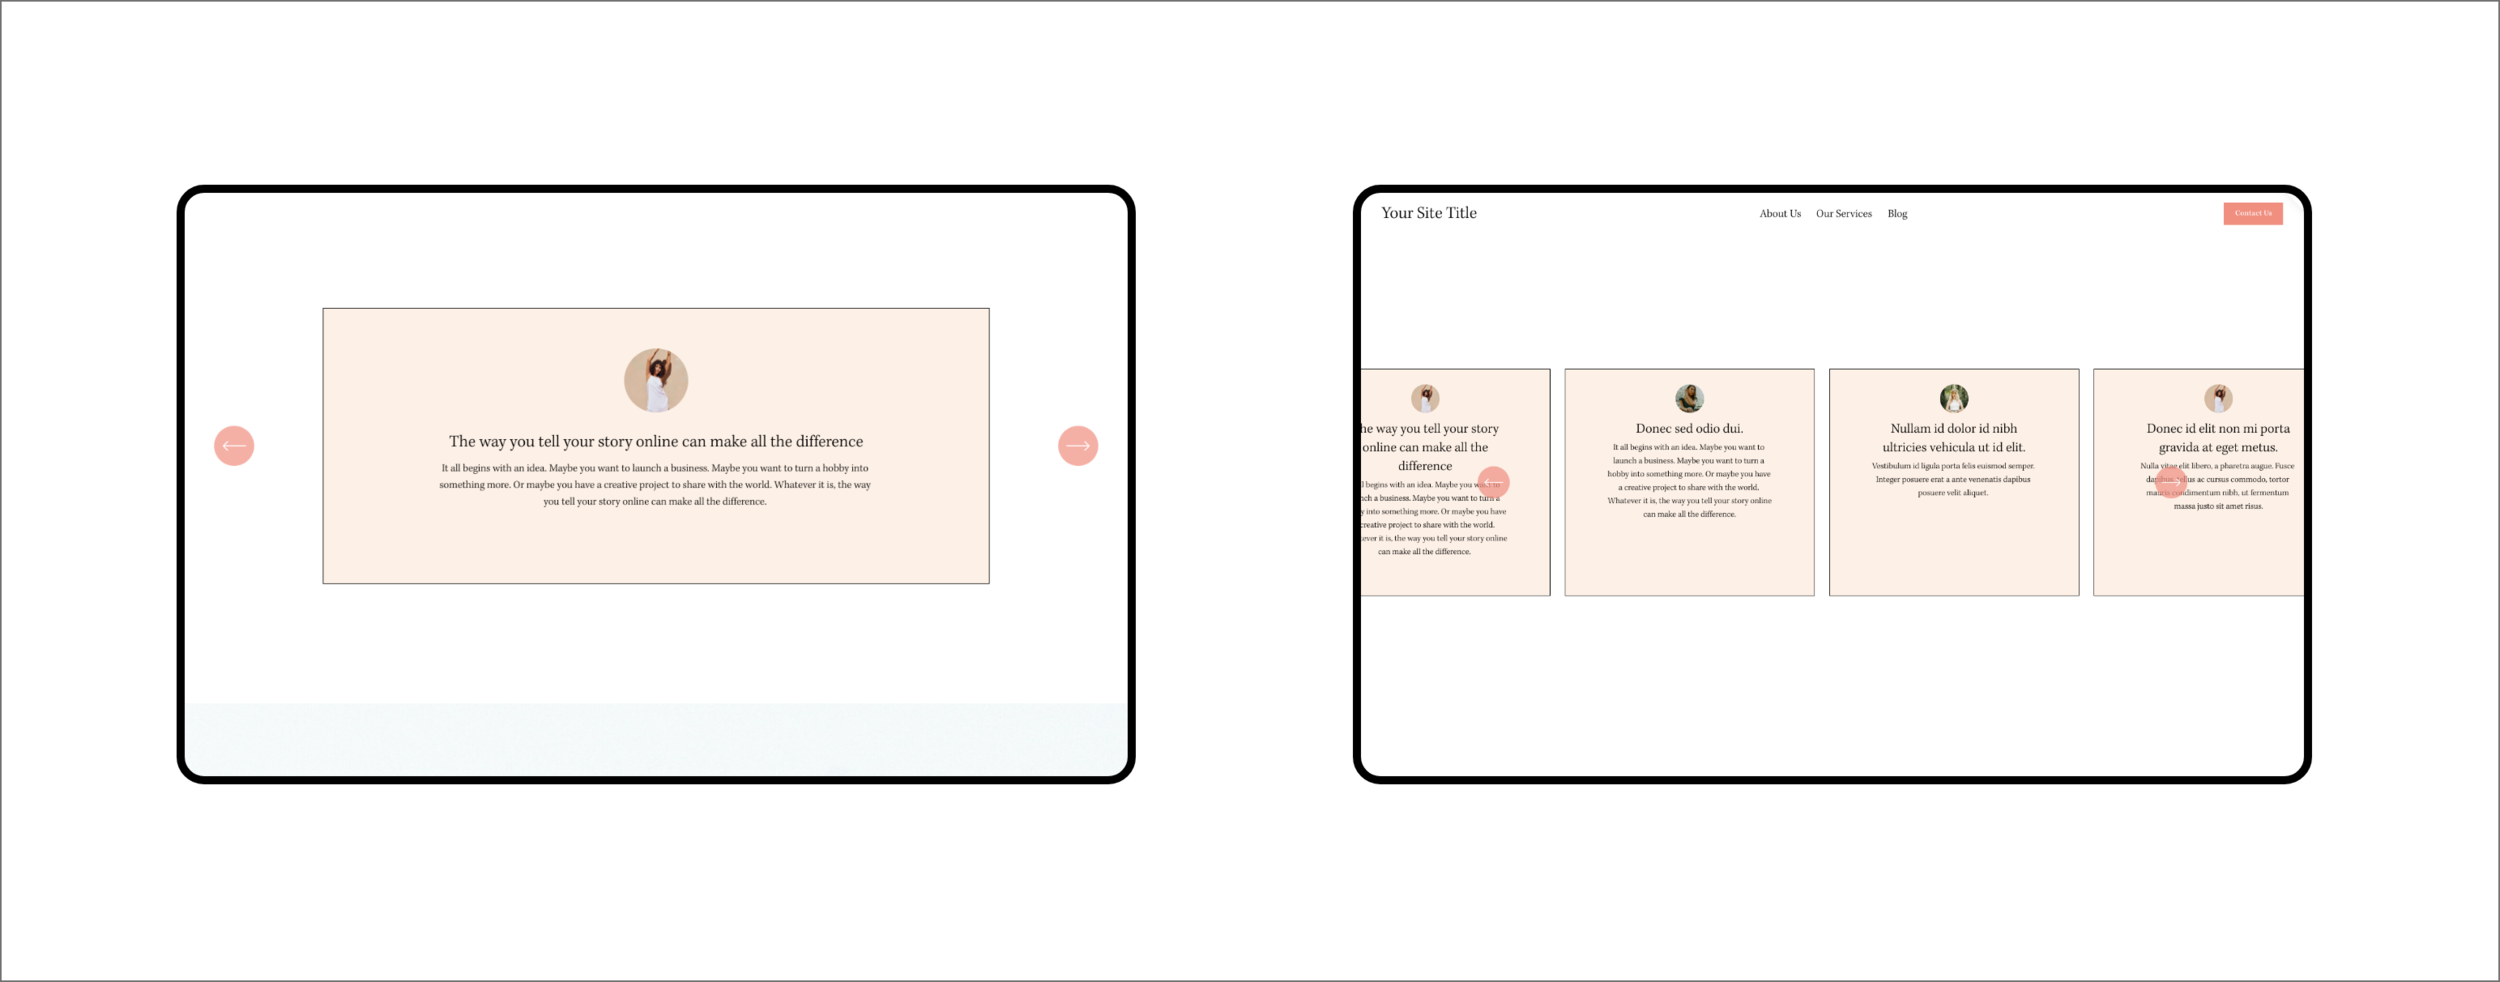
Mobile View
Look 👀at how the mobile view should look like.

Want your site to automatically play through your auto-layout testimonials?
Check out my mini-course to learn how with the help of JavaScript. Hope this quick tutorial helps!

PIN THIS POST