
( RESOURCES ) Browse through our collection of tips & tricks for Squarespace, Shopify, web design, and business. It’s a digital trove of creative ideas right at your fingertips.

Five reasons you should learn the CSS basics today
So what if you want to make your Squarespace site more dynamic and responsive… more like you (or your client)? That’s where the CSS Editor comes in.
So what if you want to make your site more dynamic and responsive… more like you (or your client)? That’s where the CSS Editor comes in.
We all know Squarespace is a drag-and-drop builder, which makes it easier to create and design your website. But while they look clean and presentable, templates rarely look unique—without a lot of tweaking, your brand will look like every other business that uses the same layout.
CSS, which stands for Cascading Style Sheets, is the programming language used to style web pages in ways that the Site Styles settings cannot. These include more options in terms of fonts, colors, margins, and even animations.
Still, it’s not enough for you to just copy-and-paste random code snippets from various sources without knowing what any of them mean. To make your designs truly stand out, it’s best for you to begin with the creative foundation when it comes to adding custom code.

To make your designs truly stand out, it’s best for you to begin with the creative
foundation when it comes to adding custom code.
These are just some of the benefits of using CSS for Squarespace designs:
CSS solves layout issues
Ever been frustrated with how elements don’t seem to align on the page despite your best efforts? Maybe you end up relying on those spacer blocks to do the trick. At least until you realize your little hack doesn’t work on smaller screens, where the text ends up being crammed in the middle. Knowing your CSS will allow you to address these common alignment and spacing problems, so you wouldn’t have to spend the whole day looking for answers in Google.
2. CSS creates flexible & beautiful mobile sites
Speaking of smaller screens, CSS can make it so much easier for you to make your site design more responsive. That means the elements in your page would change depending on whatever space is available in your user’s device.
Just think of your design like water being transferred from one container to another—you can expect a well-crafted website to act fluidly that way. It’ll be easier for you to work with elements from then on.

3. CSS makes the site easier to update
Learning CSS allows you to make changes fairly quickly, even for more advanced customizations.
For example, clipping images in a gallery into uniform dimensions would allow your client to upload any photo with ease, without having to worry about the size and shape. Just imagine if they’d have to depend too much on editing programs just to change every single photo!

4. CSS boosts your SEO
If you’ve ever thought about, say, rotating your headings by 90 degrees for a more editorial aesthetic, you’ve probably considered uploading them as images in your site instead. But that doesn’t bode very well for your website’s Search Engine Optimization (SEO).
You might be missing out on those crucial keywords that could have ranked your latest blog post higher up the Google results page.
5. CSS creates more elevated sites
Because it gives you more control over what your website looks like, CSS will allow you to modify designs to make them look the way you intend them to.
No need to work around your original mockup or compromise on features that you want to place in every webpage. It’s important for the final output to reflect the brand’s personality, and using code with your design expertise can help you accomplish just that.

Convinced that you need to go back to square one
and learn how CSS actually works?

Lucky for you, I’ve created a free foundational course, SQUAREONE: CSS in Squarespace, that you might want to check out. It’s a project-based approach, so you’ll be joining me in recreating a simple but stylish homepage layout through code.
And since we’d be discussing the basics and best practices, it’s the perfect place to start learning the concepts you need for both Squarespace 7.0 and 7.1. All you have to do is click here and use the discount code “FREE” at checkout!
Any other new features you’d like to see in Squarespace sites? I’m open to ideas, so feel free to send me an email and let’s make it happen.
Pin it on Pinterest!


Custom Social Icon
An easy hack to add a custom social icon like TikTok to your Squarespace Social Icons Block.
Kindly watch the video below for a walkthrough.

Want to add stylish and unexpected features in your Squarespace site?
Easily Create this stylish vertical tab feature.

Center Grid Summary Block
A Squarespace CSS tutorial to center grid summary block.
Here’s a quick fix to horizontally center grid summary block

Grid summary blocks in Squarespace are laid out based on minimum width. Hence, it becomes difficult to center the content especially in larger screens. This snippet of code should solve itt.
Paste this code under
Designs>Custom CSS
.sqs-block-summary-v2 .summary-item-list {
 display:flex;
flex-wrap:wrap;
 justify-content:center;
}
Want to add stylish and unexpected features in your Squarespace site?
Easily Create this stylish vertical tab feature.
Newsletter Block: Hide the Last Name Field
A Squarespace CSS tutorial to customize footer sections. Create full width footer and customize background colors through this tutorial.
First Step: Add the JQUERY Library
The JQUERY Library is the most popular JQUERY Library. If you are using other plugins , it is likely that you’ve added this library already. Please make sure to just reference this one in your Code Injection.
Paste this code under Settings>Advanced>Code Injection>Footer
Ideally in the first line
<script src="https://ajax.googleapis.com/ajax/libs/jquery/3.4.1/jquery.min.js"></script>
Second Step: Add the script that hides the last name field
Paste this code under Settings>Advanced>Code Injection>Footer
Please note that the last name will still be recorded in the backed but it will have the value “-”.
IMPORTANT:
This will also alter the last name fields in other forms across the site. I suggest using a simple text field if you wish to collect both first name and last name in contact forms.
<script>
 const lnames = document.querySelectorAll('.last-name input')
   const lnameFields = document.querySelectorAll('.last-name')
  $(document).ready(function(){

     lnames.forEach(lname => {
   lname.value = "-"
  })

     lnameFields.forEach(lnameField => {
     lnameField.style.display = "none"
  })


 });
</script>
Join the mailing list to stay in the know and check out our quick courses on CSS hacks and stylish sections.
Easily Create this Split Scrolling section in Squarespace


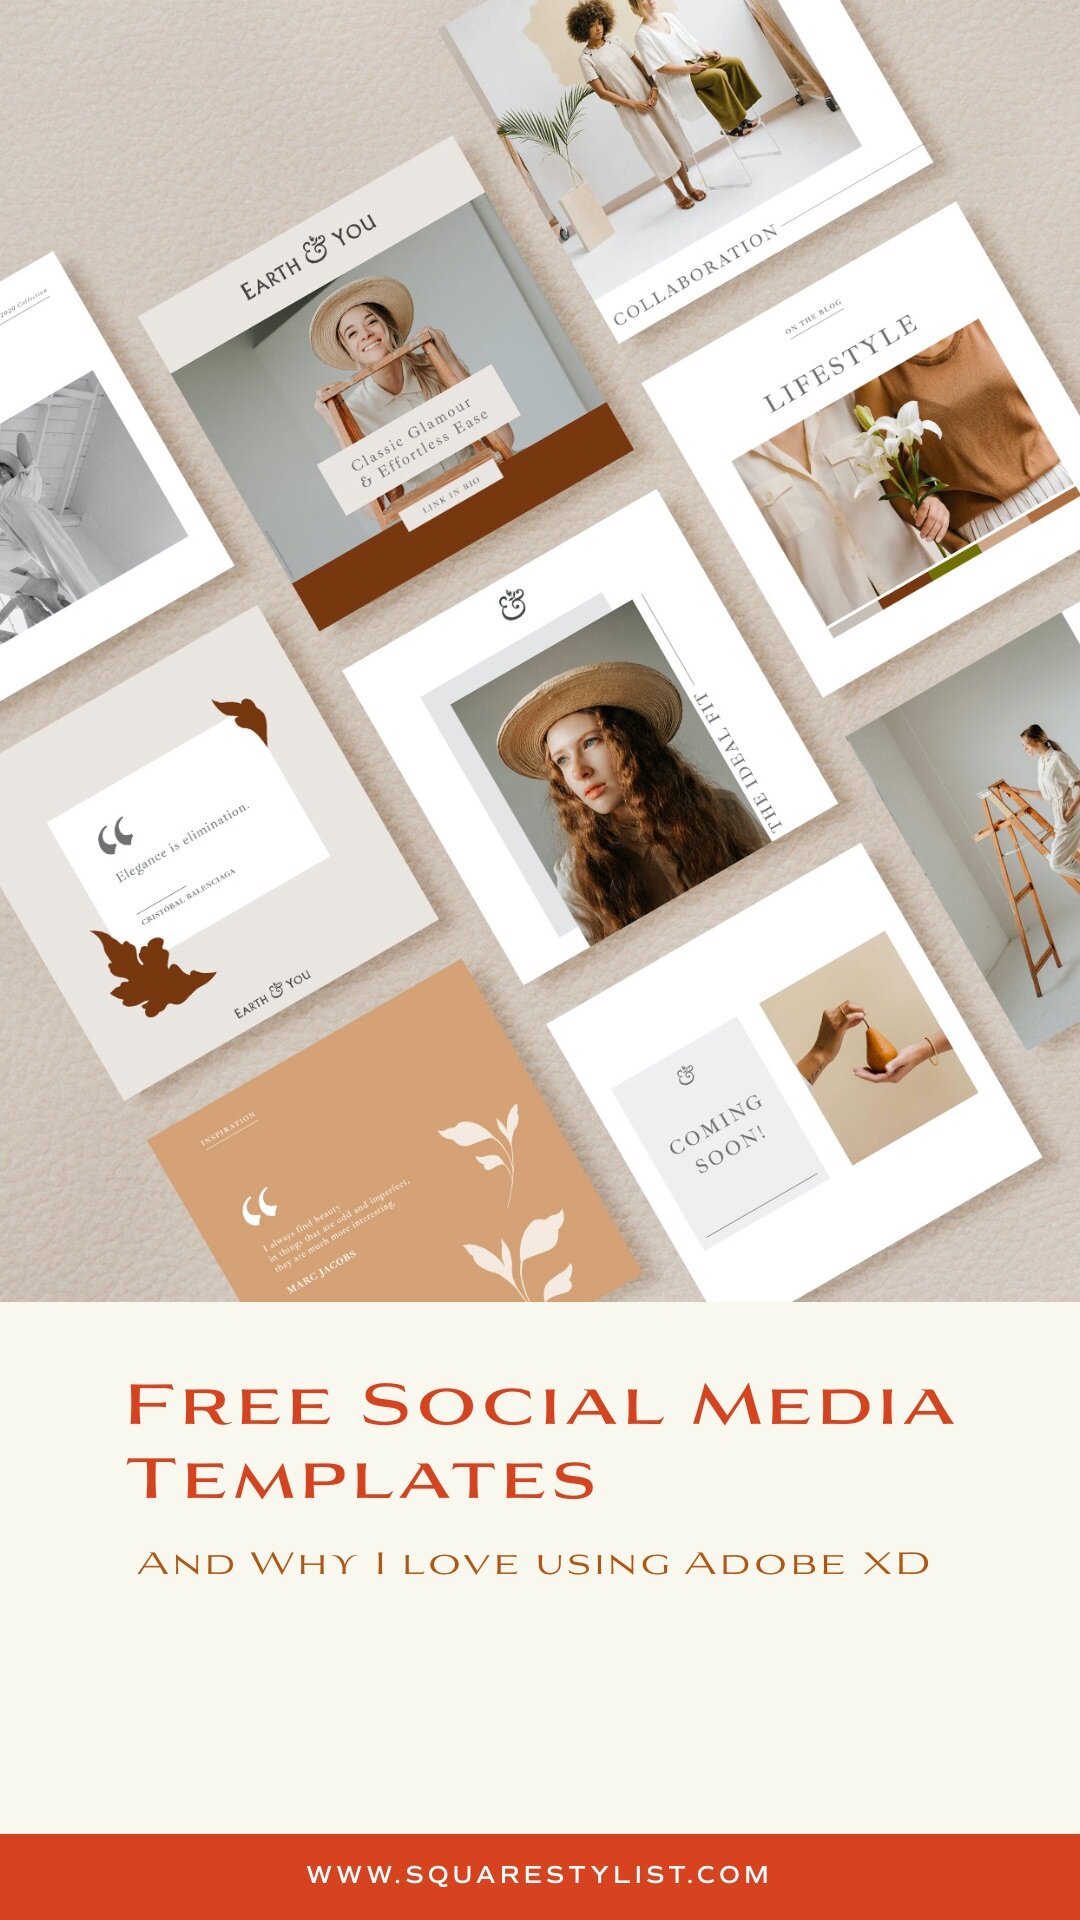
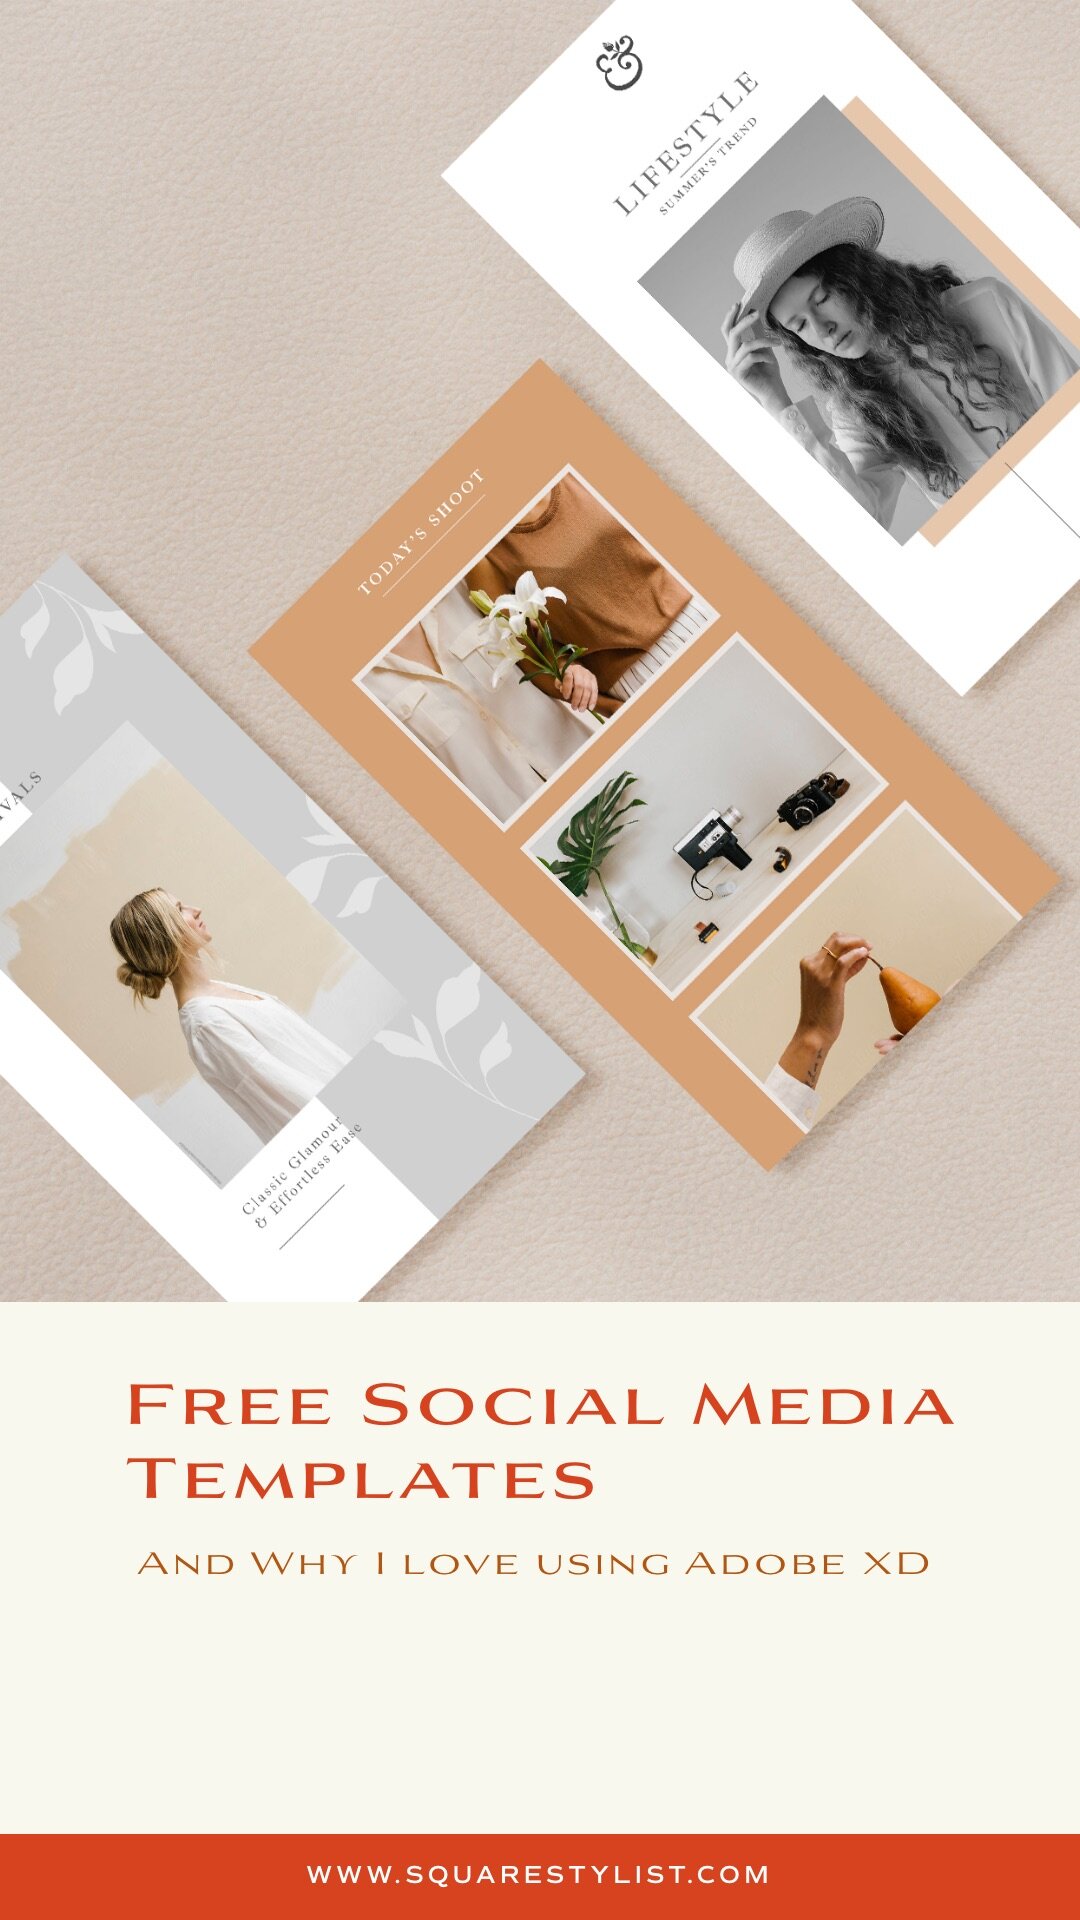
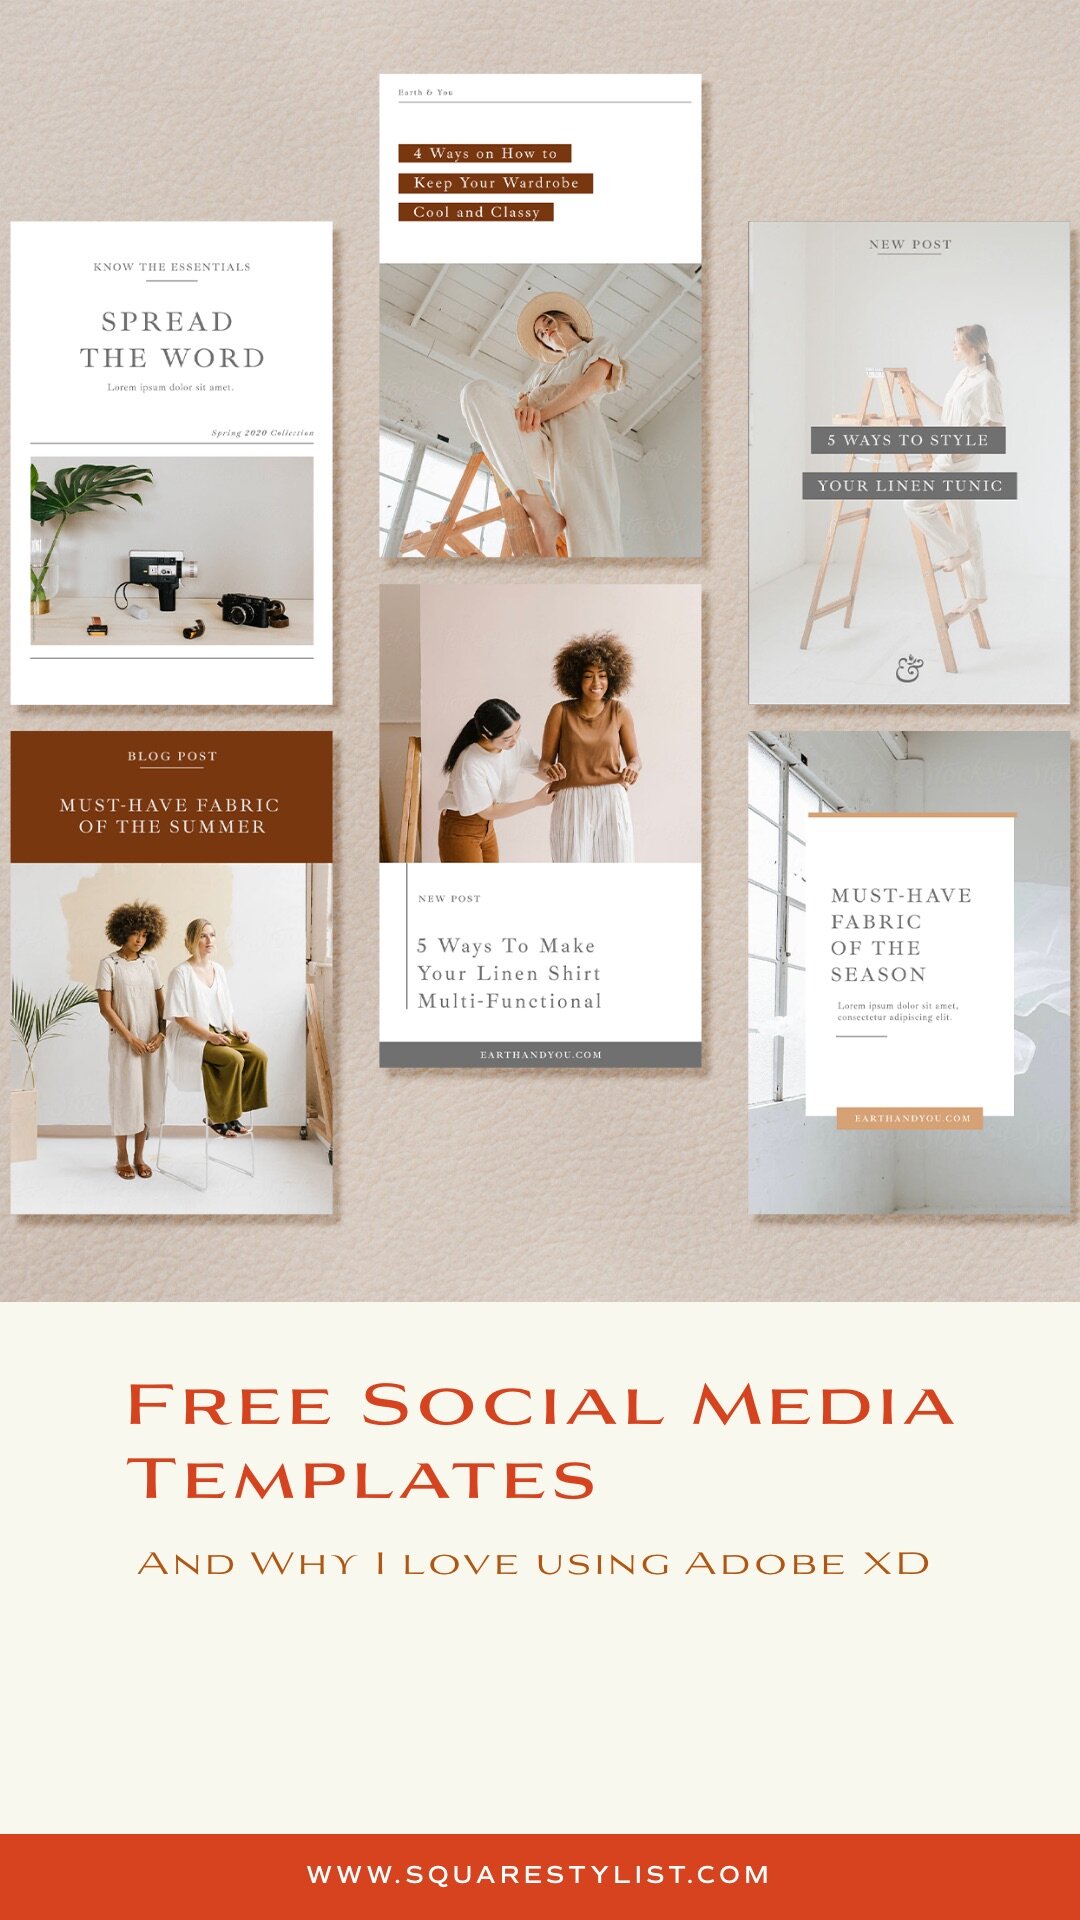
Adobe XD: My Favorite Tool in Creating Social Media Templates (Free Templates & Tutorial)
Why I swear by Adobe XD in creating social media templates. Free Templates and Tutorials inside.
As a brand designer, my main dilemma before in taking on branding clients is how to handover brand-consistent templates that they can easily edit and update on their own.
Adobe Photoshop or InDesign weren't options because I didn't want them to pay for Creative Cloud subscription just to edit their social media templates. Canva, while accessible, has limitations too. And then, I discovered ADOBE XD and it made all the difference.
Here’s why I prefer Adobe XD over other tools:

Adobe XD is Free
You may download Adobe XD starter plan for free. Just sign-up for an Adobe account and download the software. On the download page, there’s a disclaimer that “unlimited sharing and collaboration is until April 2020” only. Don’t worry about it, we don’t need this PREMIUM feature. ANYONE can download it anytime and it is FREE even after April 2020. Only the premium features (typically needed for web design) will be gone.
It seamless integrates with Adobe Illustrator
I can easily copy and paste graphics from Adobe Illustrator to Adobe XD. More so, the colors of the graphics are editable via Adobe XD.
You may use any of your desktop fonts
While Canva is free, uploading your custom font would require a Premium Paid Plan. With Adobe XD, you can use any font that’s installed on your website.
It is very easy to edit
Adobe XD is such a breeze to edit. Please download the free template below and watch the tutorial on how you can easily edit and customize the templates using Adobe XD.
Download the Free
Template Kit
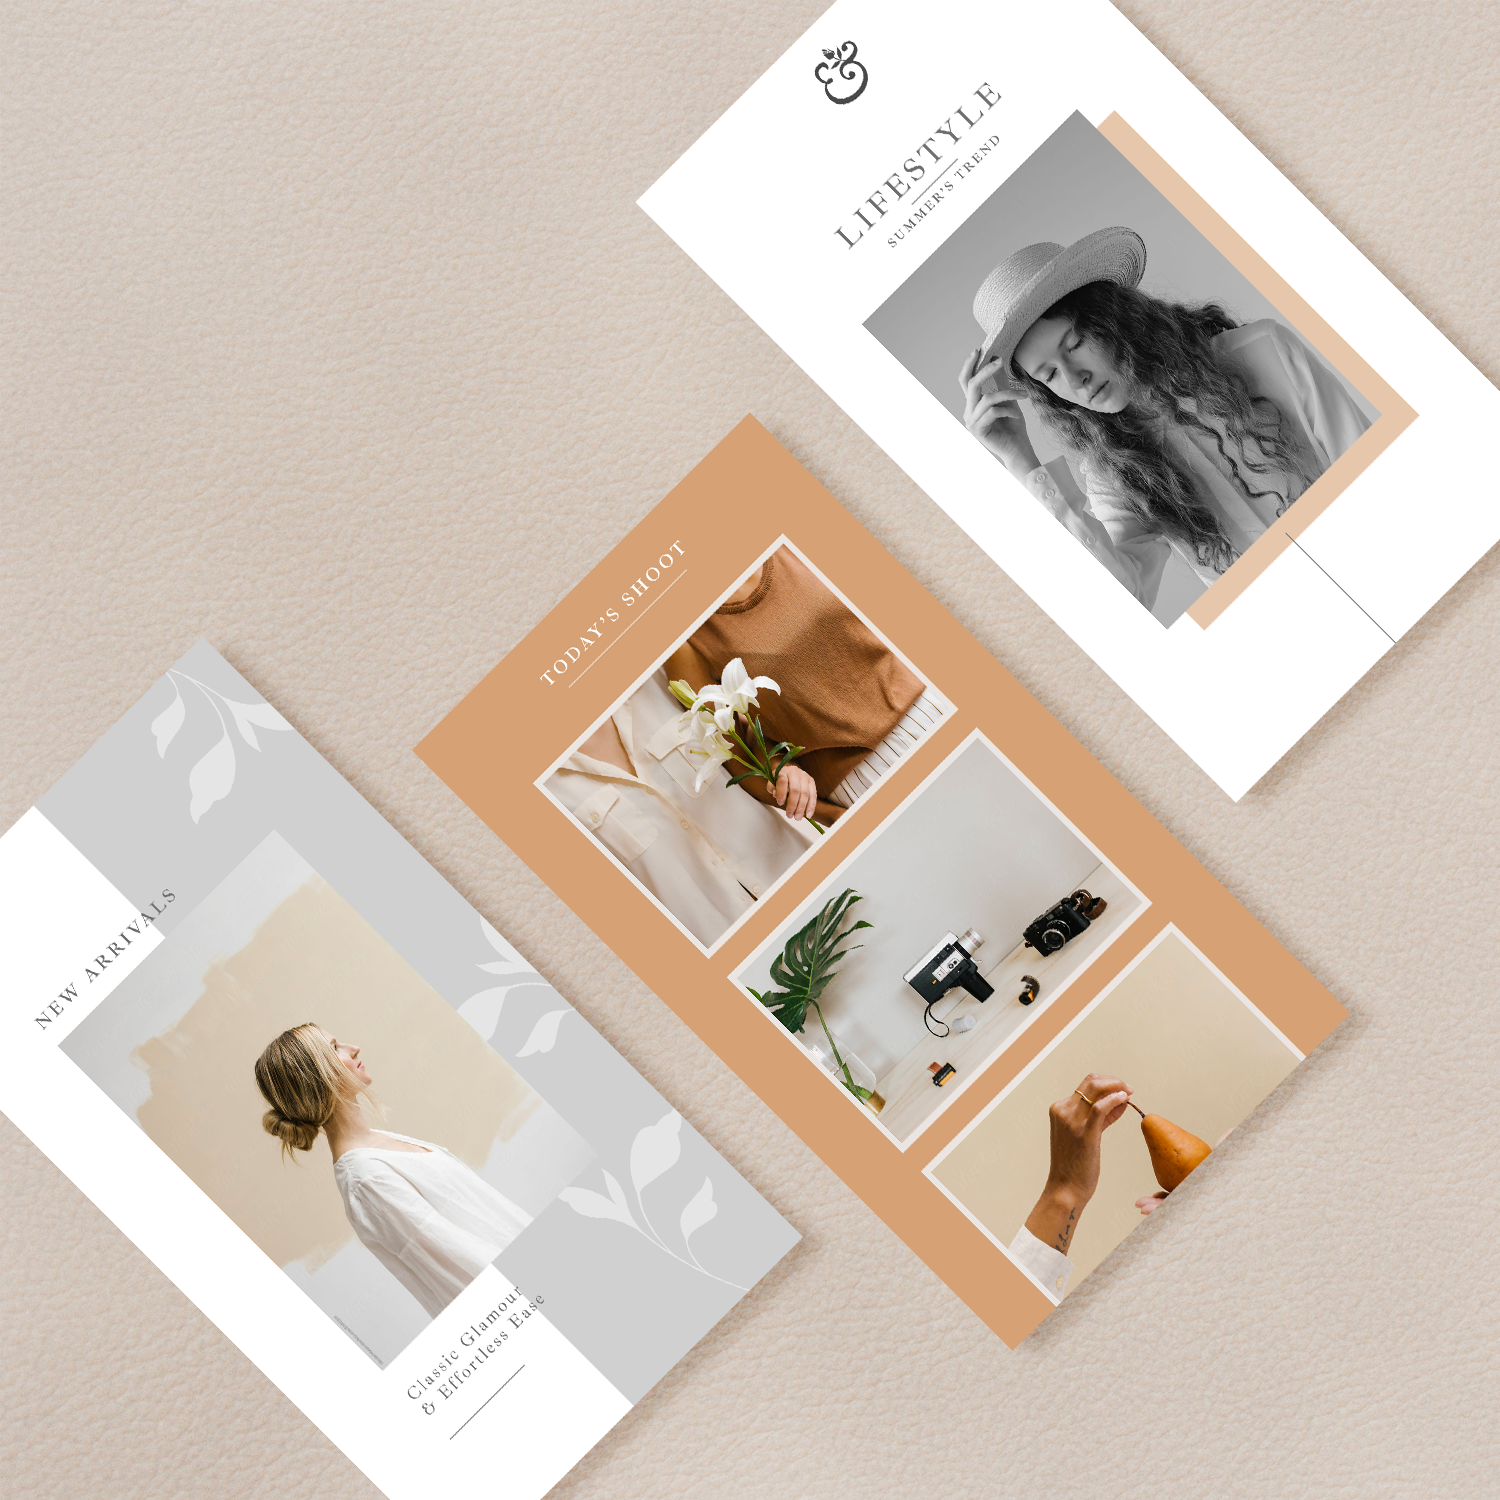
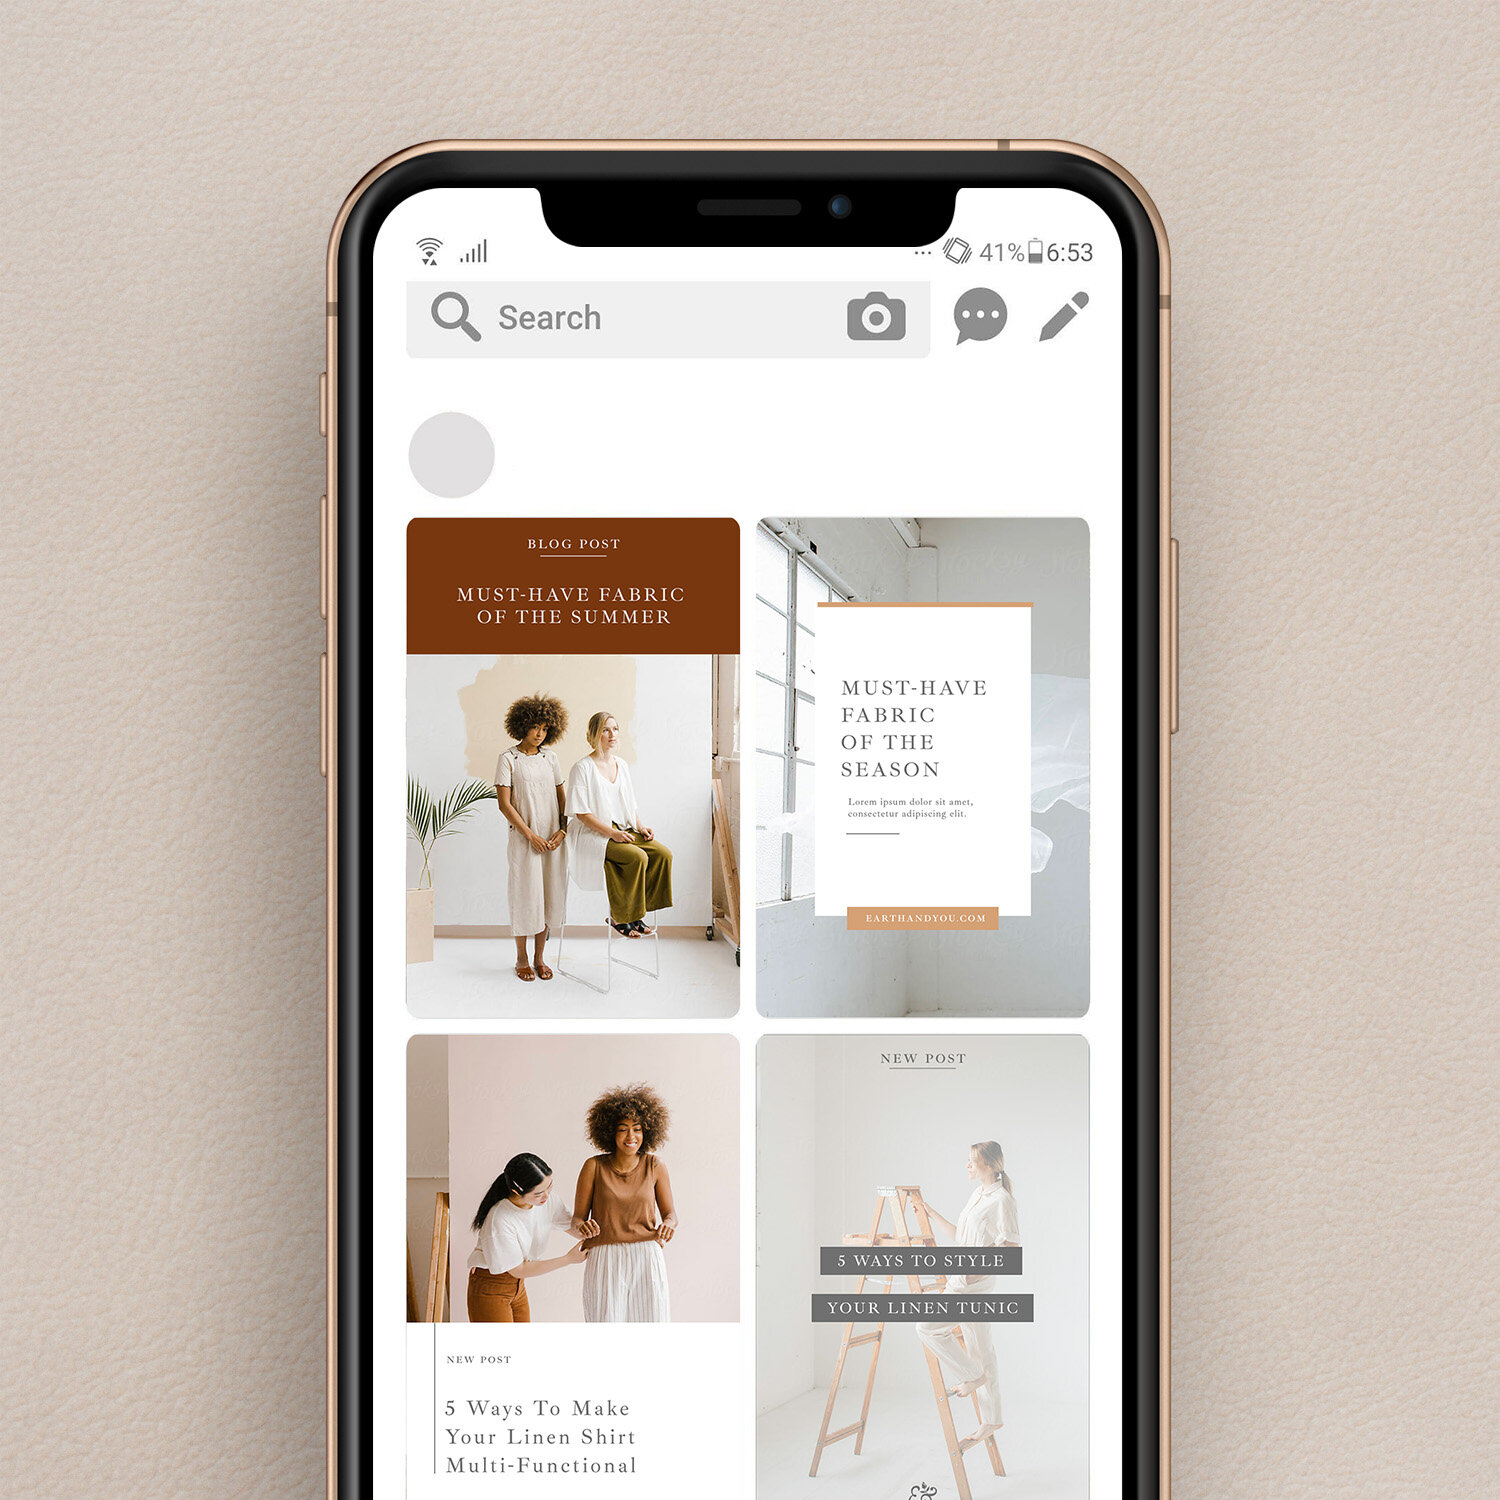
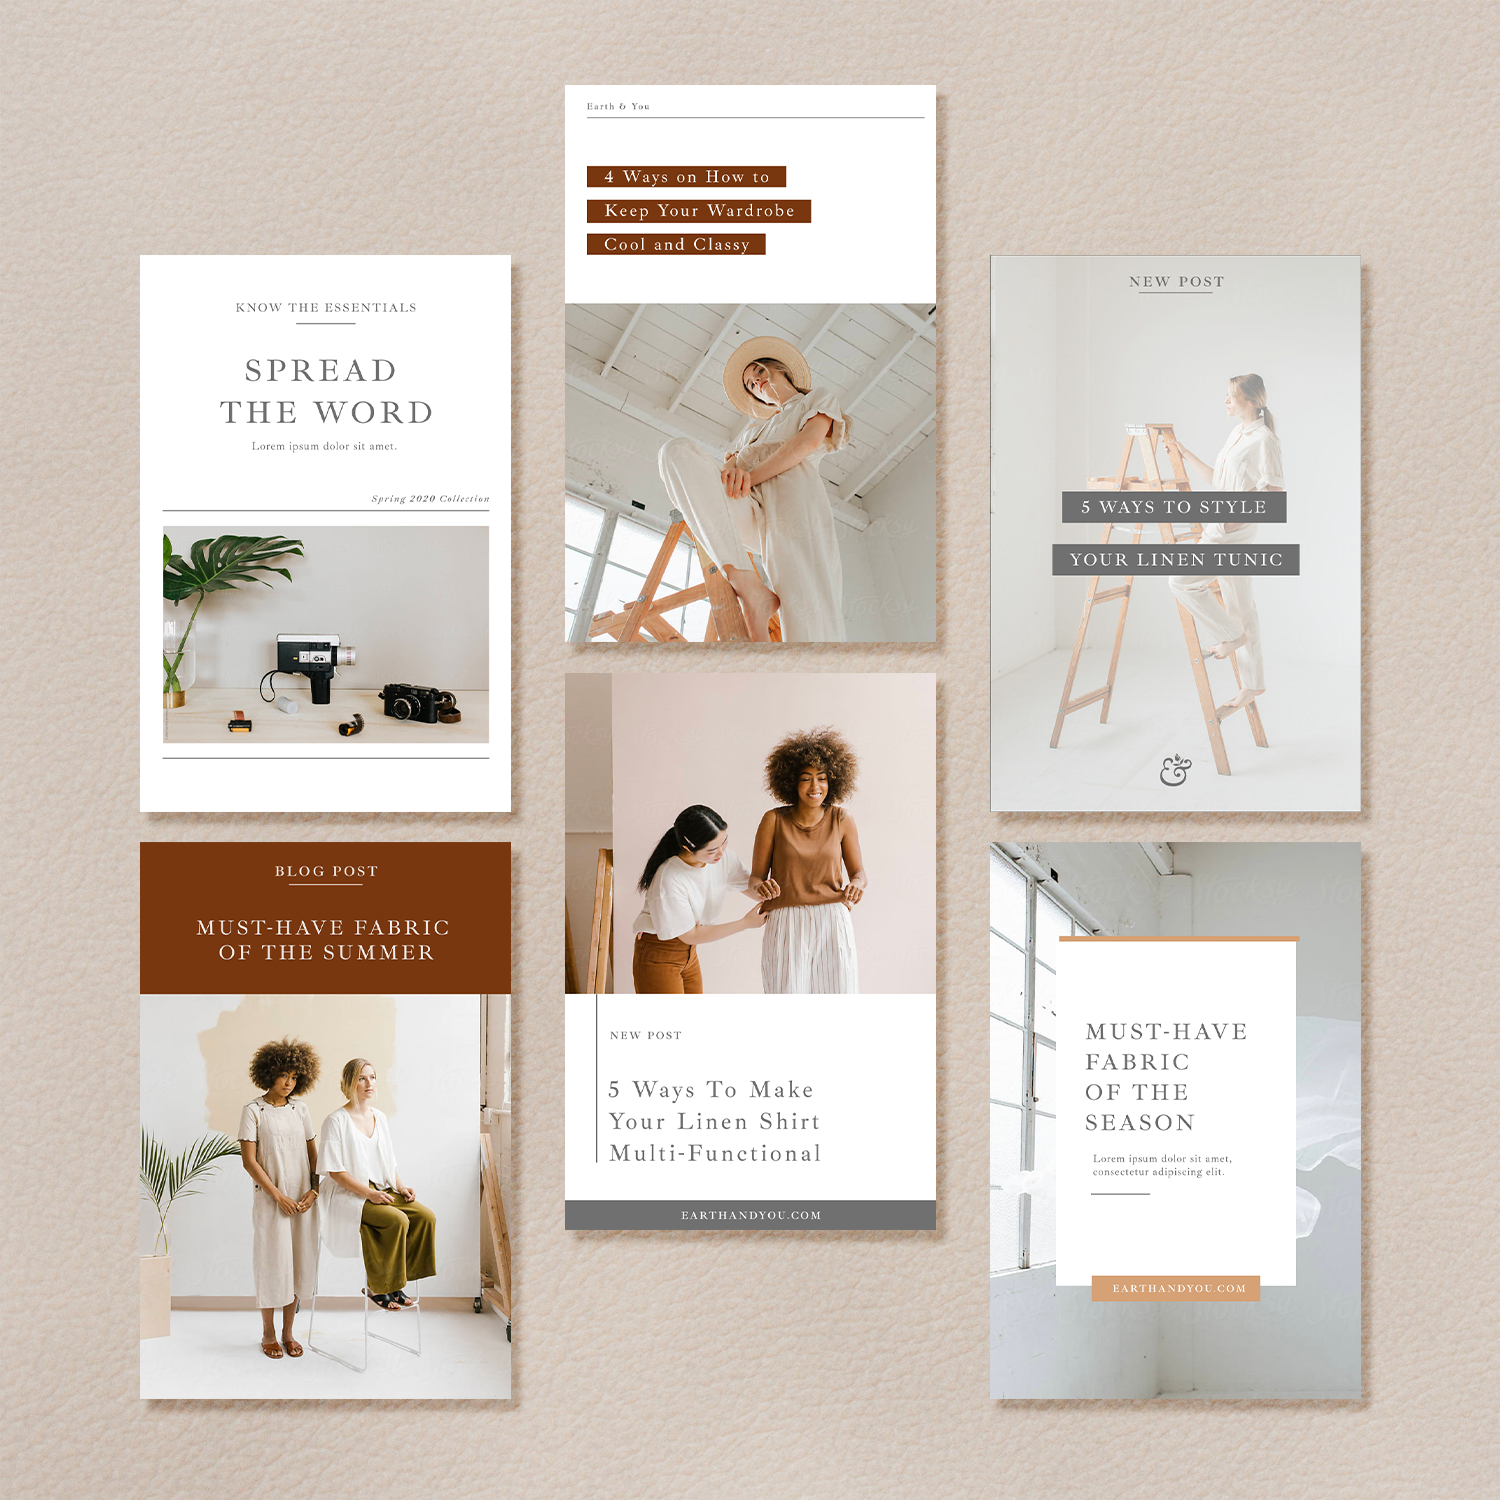
This free social media template kit by Squarestylist comes with the following:
Nine (9) Instagram Feed Templates
Six (6) Pinterest Templates
Three (3) Instagram Stories Templates
Watch this tutorial on how easily you can customize this template kit using Adobe XD
Hope this is helpful! Please let me know of your thoughts via the comment below. If you have requests for other resources, feel free to let me know as well.
PIN TO PINTEREST
Squarestylist Courses
Join the mailing list to stay in the know and check out our quick courses on CSS hacks and stylish sections.
Easily create this image on hover summary block.


Five unexpected features For Your Squarespace website (Plus 2 FREE courses)
Want your Squarespace website to stand out from the crowd? Here are some unique features and sections you can add with a little bit of code.
Thanks to its user-friendly interface, Squarespace is definitely a great website builder for designers and biz owners. You’d find it easy to drag and drop elements. Plus, you’d be able to see how your site looks like in real-time!
How do you make sure that your site won’t look too plain? Won’t your blog get mistaken for another one with the same template?
Luckily, it’s possible to make your own design stand out. As a website designer who’s been swearing by Squarespace for 5 years now, I can show you how to make the most out of its functions here in Squarestylist.
All it takes is an eye for aesthetic and little bit of code— no formal coding knowledge needed! So let’s jump into my five go-to custom features in Squarespace:

Stylish mobile navigation
If you’ve been itching to personalize your mobile menu, then you’re in luck. I can teach you how to place it front and center through this modernized mobile nav. You’ll be building all this with your own Adobe XD mockup and CSS elements blueprint too.
And the best part? I’m offering this resource to you for free! Get started by clicking the link to the Stylish Mobile Navigation course here.

Changing logos on specific pages
Do you need your logo to look a little different on another page? Maybe you’d like it to contrast with a dark banner or create something special for your landing page. Either way, it’s definitely easy for you to switch it up in Squarespace.
I’ll show you the quickest way to change your logo for both desktop and mobile view. And I’m giving this to you as another freebie! Woohoo! Just sign up and enroll in the free Change Logo course here.

Flexible mega menu
Want a lot more space than a navbar to show what you’ve got? You probably have a mega menu in mind. Believe it or not, it’s totally possible on Squarespace! Add any Squarespace block you need— summary block, newsletter block, subscribe forms, you name it.
The mega menu is just a hover away with the help of JavaScript and CSS. No wonder it’s the most popular course I have in Squarestylist so far! Check out my Flexible Mega Menu course and view the demo here.

Pop-out navigation
Here’s another navigation course for you, only this time it’s on desktop view. Making your main menu pop out with eye-catching visuals? All you need is a magical sprinkle of CSS and JavaScript animations.
Imagine all the things you can do with the building blocks of pop-out navigation! This hamburger menu is a special-use case that comes with the Flexible Mega Menu course here.
Fixed split section
Last but not least, watch in awe as your half of your screen screen stays put while you scroll down the other side. That’s the fixed split section for you! It’s not hard to see why it’s another favorite custom element in Squarestylist.
Did you know that you can even add widescreen sections above and below your split sections? How about stacking multiple scrolling sections? Learn how to create all these and more in my Fixed Split Section course here.
All of my courses are compatible for both Squarespace 7.0 (Brine family template) and 7.1 (any template). On top of that, every purchase comes with a free 30-minute 1:1 consultation with me for any questions you might have.
So are you ready to break out of the usual Squarespace sections yet? Let me know which one was your favorite.
I’m excited to see what you’ll come up with!
PIN TO PINTEREST


How I Redesign an existing squarespace website
Here’s how I create a staging site in redesigning an existing Squarespace website.
Video
Please watch this video where I walk you through my process.
In summary
I preview a new template under Design > Template to create a staging site.
We can change the navigation, pages, footer, Site Styles and Custom CSS without affecting the live site
Note that Logo and codes under Settings> Advanced > Code Injection are applied to both the live and staging site.
You may use this FREE course on how to change logo on one page to preview a new logo other than what’s on the LIVE site.
Before setting the staging site live, we must audit the URLs to preserve SEO.
Hope this has been helpful. Feel free to reach out for any questions.
Squarestylist Courses
Join the mailing list to stay in the know and check out our quick courses on CSS hacks and stylish sections.
Easily create this image on hover summary block.

The Ultimate Hack to Using Custom Fonts on Squarespace 7.0
Sharing with you the ultimate hack to adding and using custom fonts on Squarespace 7.0.
Preview
Here’s a preview of how easy it will be to apply custom font to any type element on your website. My website uses a Custom Font, Ogg Roman - which is not built-into Squarespace.

Your step-by-step guide
Secure your webfonts
Our first step is to secure our webfonts. Webfonts have the .woff and .woff2 file formats.
If you purchased your web license via Commercial Type, My Fonts, Font Squirrel et al, your downloads include these file formats. Please make sure to read the details of the license as font providers usually have different pricing for webfonts based on the number of visits.
If you obtained your font through Creative Market and other sources but the downloads did not include woff and woff2 files, I suggest using the Font Squirrel Webfont Generator to generate these file formats.
Note that the license for desktop is different from webfont license. Please ensure you secure the web license before uploading to your website.
2. Upload webfonts to your website
On your website, Go to Design > Custom CSS
Scroll Down to click the “Manage Custom Files” option
Upload your webfonts (both the .woff and .woff2 files)
3. Declare your custom font under Custom CSS
Paste the code below under Design > Custom CSS
@font-face {
  font-family: 'Example';
  src: url('path-to-fonts/Example-Regular.woff2') format('woff2'),
       url('path-to-fonts/Example-Regular.woff') format('woff');
}

Note that we still need to change the placeholder texts above with your own font details. View the GIF to see how it’s done.
Sometimes the code will still work even if you don’t have the woff2 file. Hence, this alternative code syntax will work.
Watch how I delete https: from the font path so our font can still load while the SSL is still in process.
Here’s how the code should like upon specifying your font name and font path.
@font-face {
  font-family: 'Canela';
  src: url('//static1.squarespace.com/static/59641ae58419c27cc32d96ce/t/5de122c4d36d6241f1608195/1575035602063/Canela-Regular-Web.woff2') format('woff2'),
       url('//static1.squarespace.com/static/59641ae58419c27cc32d96ce/t/5de122b3f26533387afba5e2/1575035573815/Canela-Regular-Web.woff') format('woff');
}
4. The Ultimate Hack: Add the magic script
The genius behind Squarespace Extension Pro (which I recommended on this post) developed the magic script to make our custom fonts accessible via Site Styles. Please click through the button below to view the script.
Just add the script to Settings>Advanced>Code Injection>Footer
and then Save.
5. Choose your font under Site Styles
After browser refresh, your custom font should soon show up on your Site Styles options. Best to use the Search option and start typing the name of your custom font.

Note that since it takes time to load the preview of custom fonts. This might appear as the preview on your end.
Simply select that option and the font will still be applied.
Hope it works for you! Feel free to comment below if you have questions or feedback.
Squarestylist Courses
Join the mailing list to stay in the know and check out our quick courses on CSS hacks and stylish sections.
Easily Create Mega Menus and Pop-out Navigation on Brine Templates


CSS Tutorial: Customizing Footer sections on squarespace
A Squarespace CSS tutorial to customize footer sections. Create full width footer and customize background colors through this tutorial.
Built-in Solution
While the Footer are of Brine Family templates has three sections (Top, Middle and Bottom). Currently, the only built-in option under Site Styles is to customize the color of the the entire footer. The paddings for each section isn’t customizable too.
Hence, I’m sharing the CSS solution below
The CSS Solution
Feel free to change the paddings and background color for each section. If you wish to create a full-width instagram block for example, simply adding 0px as the padding-left and padding-right under .Footer-blocks—top
@media screen and (min-width:960px) {

.Footer-inner {
padding-left:0px;
padding-right: 0px;
padding-bottom:0px;
padding-top:0px;
}


.tweak-site-width-option-full-background .Footer-inner {
max-width: 100% !important;
margin-left: auto;
margin-right: auto;
}


/**styles for top footer section**/
.Footer-blocks--top  {
padding-left:100px;
padding-right:100px;
padding-top:30px;
background-color: white;
}
/**styles for bottom section**/
.Footer-blocks--bottom  {
padding-left:100px;
padding-right:100px;
background-color: #222222;
}
/**styles for middle sections**/
.Footer-blocks--middle  {
padding-left:100px;
padding-right:100px;
background-color: #fff;
}


body { overflow-x: hidden;
overflow-y:visible;
}


}
Hope this helps
Join the mailing list to stay in the know and check out our quick courses on CSS hacks and stylish sections.
Easily Create Mega Menus and Pop-out Navigation on Brine Templates

Squarespace CSS tutorial: Customize Banner overlay color
The only built in option on Squarespace site styles is to set the color of the overlay globally. What if we want to remove the overlay on a single index section? Or if we want another color depending on the background image?
The built-in solution
Setting the banner overlay color globally
Under Design > Site Style > Main: Overlay

The CSS Solution
So here comes one of the most frequently asked code hacks. Learn how to gain control on index overlay banners using CSS. Note that the following method is based on BRINE family of templates.
FIRST: ADD THIS SYNTAX TO THE CSS PANEL (Design>CUSTOM cSS)
[data-parallax-id="ID GOES HERE"] .Index-page-image:before {
  background-color: rgba(0,0,0,0);
}
SECOND : REPLACE WITH THE TARGET SECTION ID
To make the syntax work, we need to add the ID of our target section.
Look for the parallax id that corresponds to our section ID which is the URL slug of our index section.

To look for our section parallax id, right click within the section and inspect the element. This works if you are using Google Chrome.

Copy the parallax ID into our CSS Code
[data-parallax-id="5b8f2844758d4614cb68cb4e"] .Index-page-image:before {
  background-color: rgba(0,0,0,0);
}
LAST STEP: Add your overlay color of choice
Customize the background color accordingly. If you wish to remove the overlay color, simply retain rgba(0, 0, 0, 0).
Hope this helps
Join the mailing list to stay in the know and check out our quick courses on CSS hacks and stylish sections.
Check how this summary block is swipable on mobile. Learn how to stylize your summary blocks via this quick course,


Please comment below for questions and suggestions on what topics to post next. I’m also considering video tutorials via Youtube. Do you prefer learning via a walkthrough video. I’d love to know!
How to duplicate Squarespace Sites
Here’s how you can duplicate Squarespace sites.
How to duplicate Squarespace Sites
Here are two gamechangers in my design workflow:
Learning Adobe XD to mock-up my designs.
Using Squarespace Extension PRO to duplicate my sites.
For now, I want to share how I duplicate sites using Squarespace Extension Pro by Square Websites. Note that there is a basic version of the the plugin which costs less. Replication of Squarespace websites is possible via this basic version. But if you’d like to have access to better plugin updates, other special features - I recommend the PRO one. I DO NOT GET ANY AFFILIATE COMMISSION for this post. It's just that this tool is such a gem not to share. I know of designers who are a bit intimidated to purchase this because the documentation seems overwhelming but I am here to simplify the instructions for you.
The built-in solution
I believe Squarespace users are quite aware that there are built-in options to duplicate a page and collection item on Squarespace.
Duplicating Individual Pages
You may duplicate any page via the settings tab of each page.

Duplicating collection itemS
There are also built-in options to duplicate collection items like blog posts, event item, gallery item or product. You may find the help guide via this link.
So how in the world can we duplicate an entire Index page or an entire blog, shop or gallery collection?
The Solution
The best solution I stumbled upon is the Squarespace Extension Pro.
Note that currently this plugin does not support the new version of Squarespace (7.1). But Michael Mashay, the developer behind it, is very prompt and very talented in updating the plugin to keep up with all the changes on the Squarespace backend.
Note as well that the extension won’t be able to duplicate your Footer. Its Pro version can duplicate a group of blocks though; but honestly, I haven’t extensively used this feature yet.
Here's how you can use the extension:
PRE-REQUISITES
Purchase and add the extension to your google chrome browser. Make sure that you are logged in to your preferred google email address. Note that if you are only after the replication of websites, you may purchase the basic version of the plugin at a lower cost.
Make sure you’re using the 7.0 version of Squarespace. This version has template options. You may always start a new site using 7.0 version using this link.
The process I will demonstrate below is based on BRINE FAMILY OF TEMPLATES which is the template family I recommend.
STEP ONE: ENABLE THE EXTENSION
You’ll find the green icon at the upper right area of your GOOGLE CHROME BROWSER.
Best Practice is to keep your browser version up to date.
STEP TWO: COPY COLLECTION DATA
INDICES
You may duplicate an entire index page at once. To do so, simply hover over the index page and click on the extension icon and click the "GET COLLECTION DATE” option that shows-up. Extension will automatically store your most recent collection data like a clipboard.

BLOG, SHOP, GALLERY
To copy any collection: an entire blog page with unlimited number posts or a gallery page, an entire shop or events page - just hover on the collection and "GET COLLECTION DATA"

STEP THREE: PASTE COLLECTION DATA
2 | Paste Collection Data
Paste the collection data to the same website or to another Squarespace website by clicking the extension icon again and clicking select “CREATE FROM DATA”
The collection will automatically be placed on the main navigation. To paste it on the NOT LINKED PORTION, simply hold the Shift Key while clicking the CREATE FROM DATA button.

STEP FOUR: EXPORT & IMPORT SITE STYLES
By now, we have duplicated the content and structure of the collections. If you are pasting the collection to another Squarespace website and you wish to apply the same styling. We’d need to export the site styles from the reference website and import such to the new website.
If your extension is enabled, these options should be available at the very bottom of your Site Styles. (Design>Site Styles)
Go to the Site styles setting of your reference website and click on export tweaks. A file with .tweaks extension should automatically be downloaded.
Go to the Site styles setting of your new website and click on import tweaks. Click on IMPORT TWEAKS and choose to upload the .tweaks file that you just downloaded.
Click SAVE.

STEP FIVE: COPY & PASTE ANY CUSTOM CSS
Copy the CSS that you added to your original website under Design >Custom CSS. And Paste that to your new website.
Important: Be careful not to delete any custom CSS during the process.
Please feel free to comment below should you need assistance in figuring this out or in deciding which version of the extension to purchase. I will discuss more features of the extension along with other Squarespace tricks. To stay in the know, please subscribe to the Squarestylist Mailing List.
If you are new to Squarespace and need a hand figuring out how to start, please feel free to send an email. I am launching the #SQUAREONE program for beginners.
For advanced users, please check out the shop to learn more about how to create stylish sections on Squarespace.


I would love to hear from you if this post has been helpful :) Also, let me know if you have suggestions on what topics to post next.
FAQs
Appending questions here so everyone will benefit:
QUESTION
Does this extension continue to load new content on the page you pasted it to? So, if a new event is added to the back end Events page, then the new page you duplicated it to will also reflect that addition?
ANSWER
Nope! The pasted content is completely independent from the original content.