
How to Upload and Use Custom Fonts in Squarespace (Finally!)
Squarespace has finally rolled out a long-awaited feature: you can now upload your own custom fonts directly, without touching a line of code.
How to Upload and Use Custom Fonts in Squarespace (Finally!)
a.
Squarespace
b.
Video
If you've ever struggled with using custom fonts in Squarespace, we’ve got good news—it’s now easier than ever. Squarespace has finally rolled out a long-awaited feature: you can now upload your own custom fonts directly, without touching a line of code. Let’s walk through how this works and some tips to keep in mind as you start customizing your site’s typography.
Custom Fonts Without Code? Yes, Please.
Previously, if your preferred font wasn’t available in the built-in font picker, you had no choice but to inject code or CSS workarounds. But now, Squarespace has introduced a simple drag-and-drop upload feature for custom fonts.
To upload a font:
Head to the Font Manager.
Drag your font file (like
.otf,.woff, or.woff2) into the upload window.Squarespace will auto-detect the font name and weight—super handy!
💡 Note: Always ensure you have the proper web license for the font you upload. Many foundries sell separate licenses for desktop and web use.
Assigning Fonts to Your Site
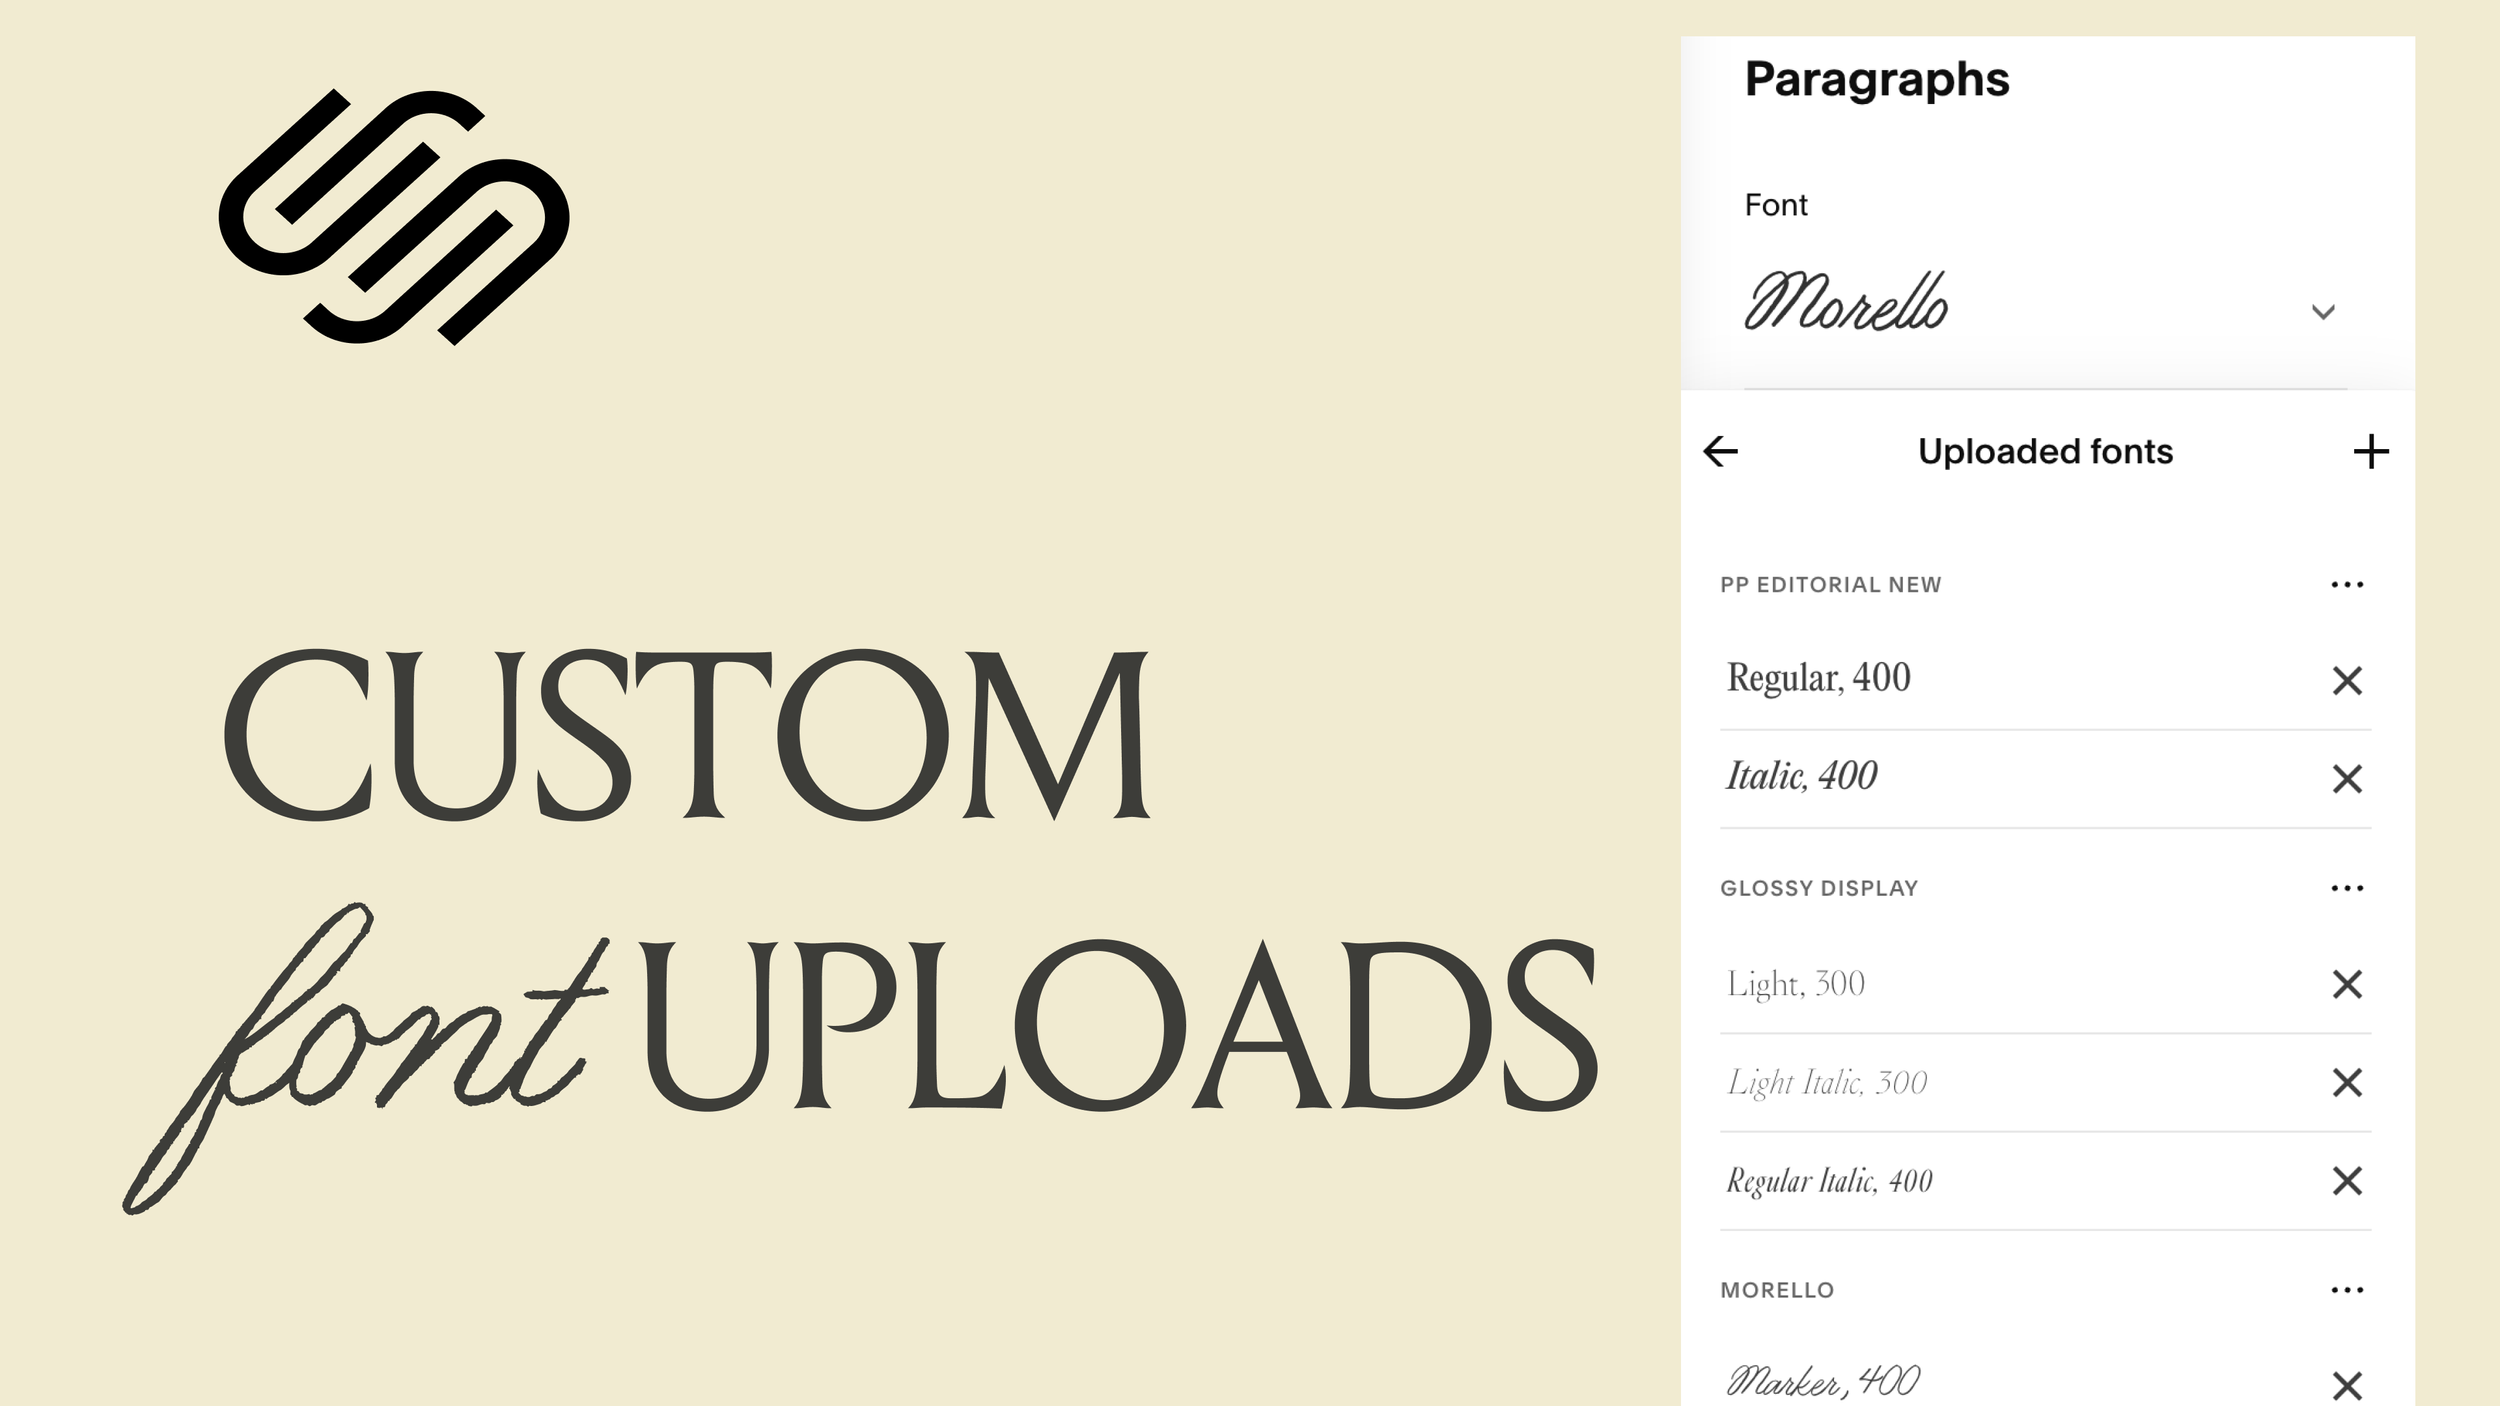
Once uploaded, your custom fonts will show up in your Squarespace font drop-down menu, making it super easy to assign them to various text elements like headings, paragraphs, or even buttons.
For example:
Replace Helvetica with your custom font like “Glossy Display” for headings.
Adjust weight, text transform, and other styling directly in the design panel.
Want to italicize? No problem. If you’ve uploaded the italic version of your font, Squarespace will handle the switch automatically when you apply italics.
Uploading Font Variations (Light, Regular, Italic, etc.)
You can upload different variations of your font—light, regular, italic—and Squarespace automatically organizes them under the same font family. That means:
Upload a light italic? It’ll be categorized as such.
Switch weights easily using the font settings panel.
Italicize elements and see the correct version display beautifully—no fake italics here.
🛑 Pro Tip: Only upload the variations you actually need. Uploading too many can slow down your site. Squarespace even reminds you: fewer fonts = faster site.
Deleting Fonts You No Longer Use
If you decide to remove a font:
Make sure it’s no longer assigned to any element.
Click the “X” icon in the Font Manager.
If the font is still in use, Squarespace will prompt you to remove it from your site first.
Beyond Headings – Get Creative
Custom fonts aren’t just for headings. You can:
Assign them to miscellaneous fonts like buttons or captions.
Use them on specific blocks, like setting a monospace block to a custom sonar-style font.
Apply them via granular font assignments in the style editor.
But here's a final piece of advice: if you're only using a custom font in one small spot, it might be better to upload it as an SVG. That way, you’ll avoid the performance hit that comes with loading extra fonts.
Squarespace’s new font upload feature opens up tons of creative possibilities—no more coding hacks or messy workarounds. Just drag, drop, assign, and go.
But remember:
Always check licensing.
Upload only what you need.
Consider performance alongside aesthetics.
Now go ahead, give your Squarespace site that custom type vibe it deserves.